
 When you modify a Povray file executed from Geomorph,
start Geomorph from a X console, so that you can read the Povray error
messages.
When you modify a Povray file executed from Geomorph,
start Geomorph from a X console, so that you can read the Povray error
messages.| Version 0.40 and later Now it is sufficient to include geomorph.inc, which includes the three files. So the sequence is: #declare rock_color = 0.5*(<0.72,0.66,0.4>) ; #declare rock_turbulence=0.2; ... #include "geomorph.inc" |

 The sky is basically a colour
gradient on the Y axis (vertical). Povray provides a sky_sphere
declaration for
this purpose. A gradient is a kind of "pigment" in the Povray language.
The gradient is applied on the sky_sphere
object. An example coming from mountains.pov
is shown at right (X rotation=355°, angle of view = 55°). So,
in
a Geomorph template, the sky could be declared in 2 steps:
The sky is basically a colour
gradient on the Y axis (vertical). Povray provides a sky_sphere
declaration for
this purpose. A gradient is a kind of "pigment" in the Povray language.
The gradient is applied on the sky_sphere
object. An example coming from mountains.pov
is shown at right (X rotation=355°, angle of view = 55°). So,
in
a Geomorph template, the sky could be declared in 2 steps:Plane version |
Sky sphere
version |
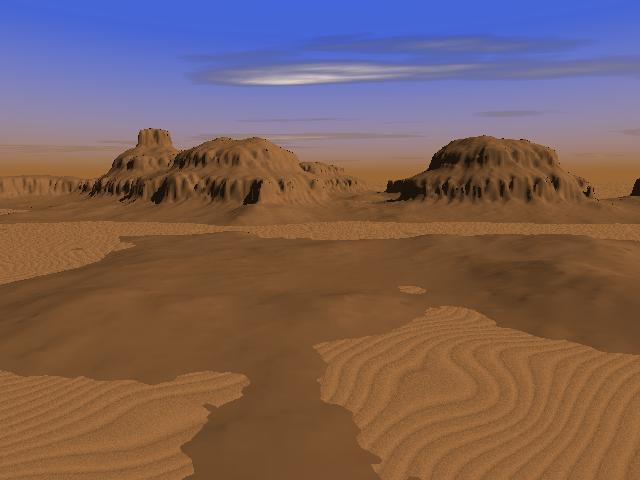 There
is no ground plane in mountains.pov,
but you can find one in desert.pov
(shown) or in sea_and_rocks.pov.
There
is no ground plane in mountains.pov,
but you can find one in desert.pov
(shown) or in sea_and_rocks.pov.| Version 0.40 and later The height field should now be declared like this: #declare hf = height_field { png main_terrain ... "main_terrain" is a variable created in geomorph.inc. It contains the name of the current height field file, if it has been saved, or test.png, if not. The file also declares variables containing secondary height fields, like "water_map", "background_map", "ground_map" and "crater_map", for some scripts requiring them. |
 +
+ =
=
 +
+ =
=
 Back to the documentation index